So, my son wanted Oryx the Taken King from Destiny as his Halloween costume this year. I said I'd do it, and then had a tough time finding good pictures of it to make a copy. My son says he is more brown, but it looked more red in the one photo of him online, so he's red. A 'young' Oryx, if you will.

The wings are made out of a lightweight fabric, that I crumpled and stained red, then painted brown portions on. I used a swim noodle for the shoulder mounts, and a piece of foam insulation between. I wrapped everything in duct tape. I used gorilla glue to put the two together,

This is actually a piece of mat. You know, yoga mat, or one to sleep on while backpacking. Cut it out, used mod podge and then painted it.

The wings from the other side. I put Oryx's shoulder pads onto the frame.

I actually ran out of the outside mod podge. I wanted it to stand up in the rain, if needed. When I ran out, I used some of this. But the glossy outside style is what I used.

I found some artist renderings online. I used that to make my head dress. I did the best I could with what I had.

You can see I used paper towel for my mod podge paper. It seemed a bit tougher, but it did take more mod podge to soak into it. I used a light styrofoam insulation for the back part. I gorilla glued it to a helmet. Then I added the thick foam pads for the facial parts. Then I glued it all together, then painted it. I used one extra outside mod podge coat for a sealer.

The eyes are from a bottom of a...

Sprite bottle. I used white gorilla glue to glue them over drilled holes in the helmet.
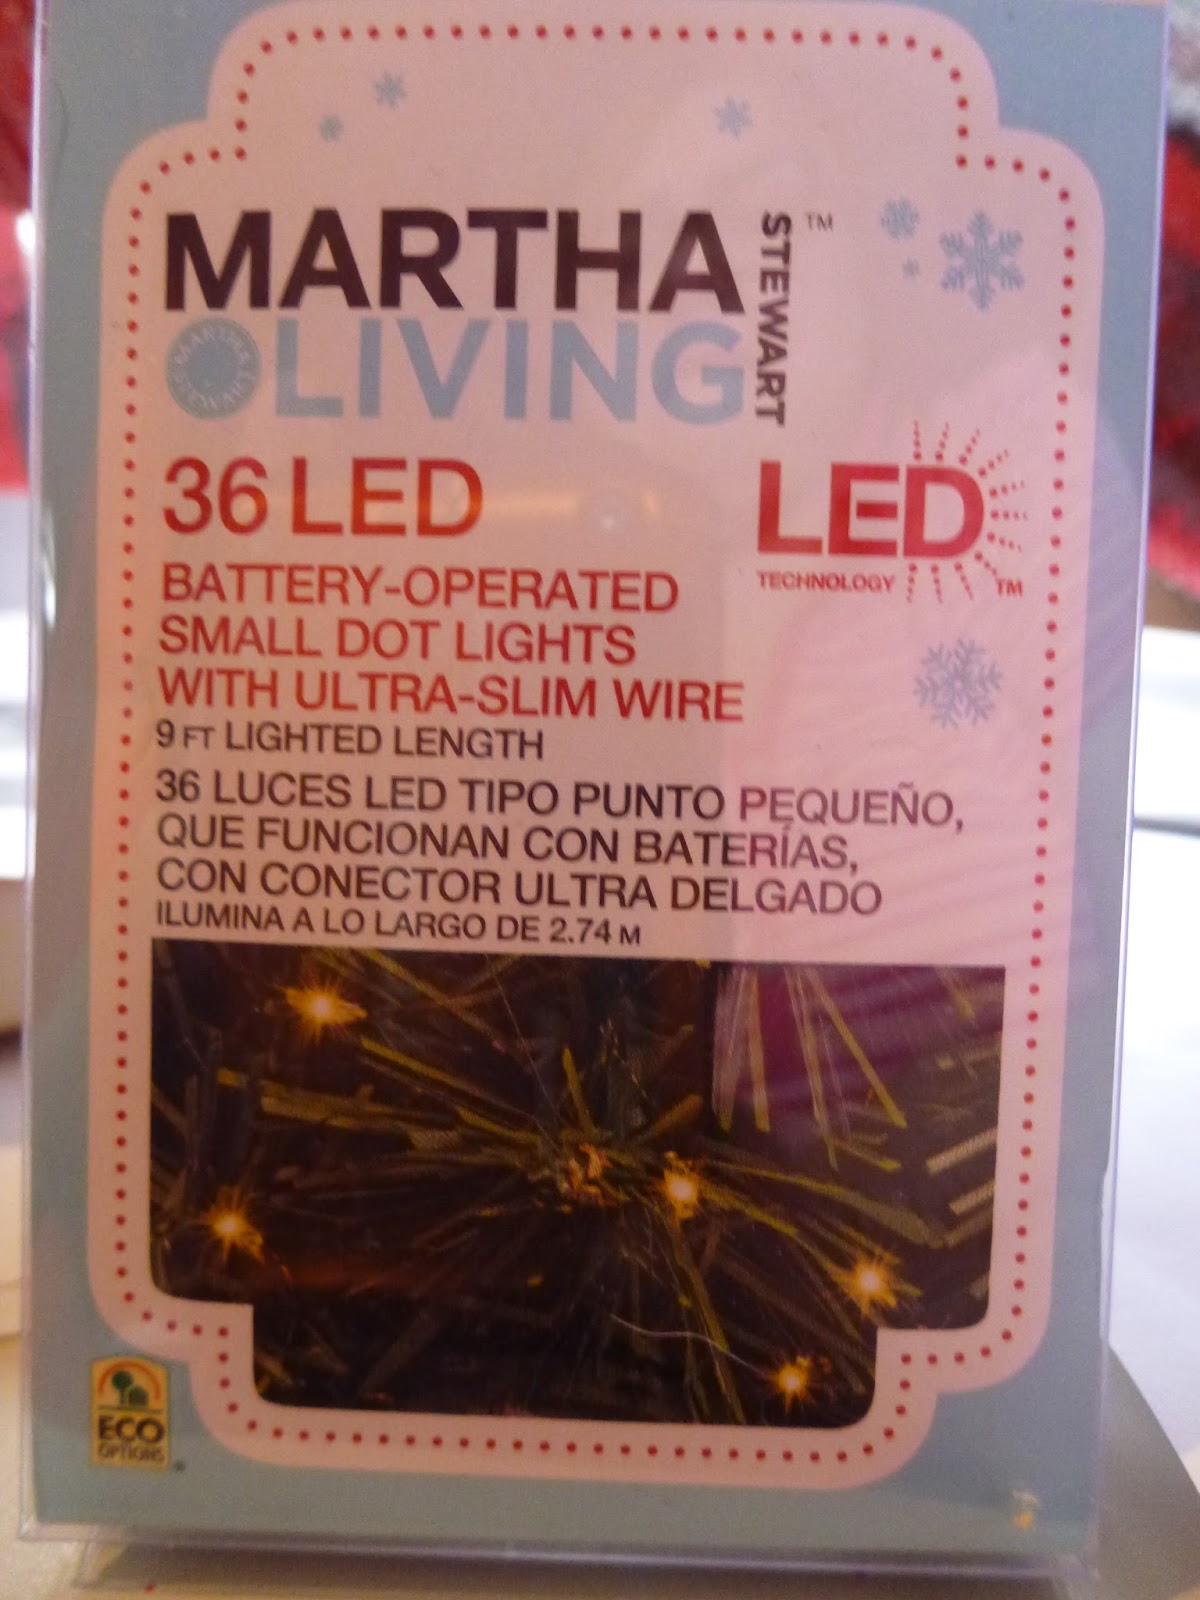
Then I stuck through these tiny LED lights, more in the top eye. I duct-taped in the batter pack to the top of the helmet.

The foam pads were kneeling pads bought at the dollar store. For the lower jaw, I 'V' cut one and glued it to be at the jaw's angle.

This is the back of the quad pads before I gorilla glued on elastic to fit around his legs.

I bought really light-weight red fabric, and quickly bodge-sewed it for a long back cape, and a front 'skirt' and back 'skirt.' I should have made the front 'skirt' more narrow.

As you can see, I didn't complete the arm bits, lower leg bits, the hands (I had started to modify some dollar store gloves), but with the headdress and breastplate, it is pretty much done.

We had him dress in blade, and then added a black hooded mask, and gloves so people only say the outfit.

You can tell that the head-dress is a helmet, and even though we cranked in the helmet's fittings, we had to tie under his chin, as well, to keep that behemoth on. It wasn't too heavy, but it was unwieldy.

You can tell I used bamboo for the wing struts, and wired and hot glued everything into place.

Good luck if you decide to make this outfit. It took me approximately 16 hours to do. Out-of-pocket was $7 for fabric, $10 for dollar store kneeling pads, $2 for Sprite bottle, $6 for gorilla glue, $12 for outdoor mod-podge, $3 for more acrylic red paint (I used my craft stash), $8 for the Martha Stewart LEDS (plus batteries), and $5 on duct tape.
We already had the helmet, paper towels, swim noodle, pad styrofoam, bamboo, wire, and styrofoam insulation.